
Mold in the shower is one of the most stubborn and frustrating household problems. No matter how many commercial cleaners you try or how hard you scrub, mold always seems to creep back, often stronger than before. But now, a no-scrub solution is making waves among homeowners—and it might just be the answer we’ve all been waiting for.
This simple, cost-effective method doesn’t involve abrasive tools, repetitive scrubbing, or a shelf full of expensive cleaning sprays. In fact, it uses ingredients you may already have at home. The trick? Combining a few readily available items to target mold at its root and keep your bathroom bright and fresh. Let’s dive into the method cleaners would prefer you never find out about—and how it’s transforming bathrooms across the country.
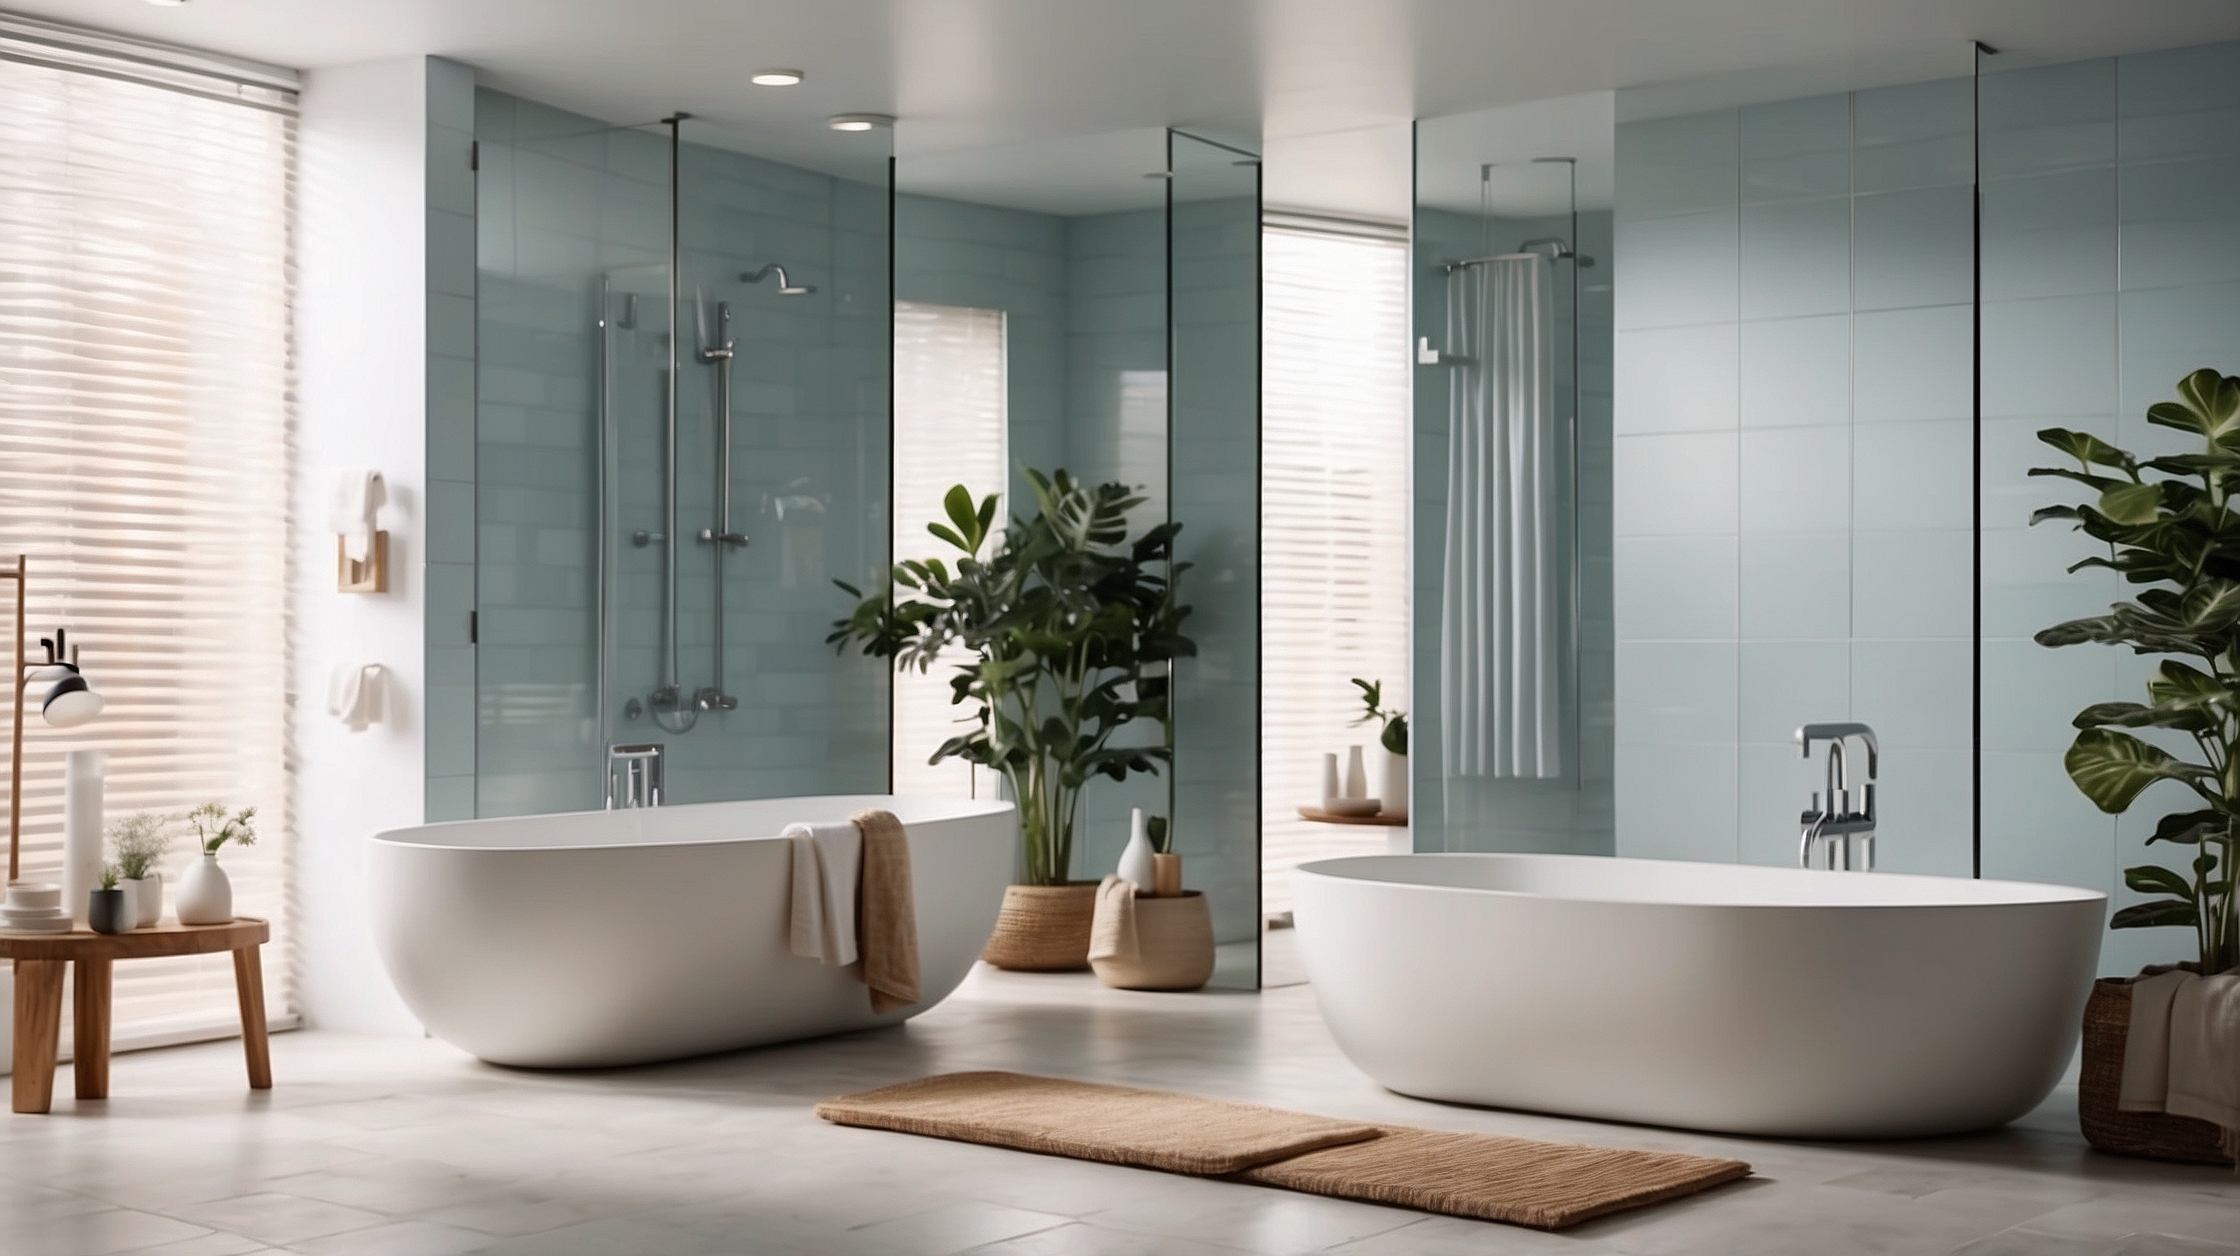
Overview of the no-scrub mold removal method
| Feature | Details |
|---|---|
| Primary Purpose | Eliminate mold and mildew in shower grout and corners |
| Effort Level | No scrubbing required |
| Time Required | 6–8 hours (passive application) |
| Ingredients Needed | Bleach, cotton cosmetic pads or cotton coils, gloves, ventilation |
| Cost | Under $10 using household items |
| Effectiveness | Up to 100% mold removal in a single treatment |
Why mold thrives in bathrooms
Warmth, moisture, and lack of airflow make bathrooms the perfect breeding ground for mold and mildew. Shower corners, tile grout, caulking, and even ceilings can develop patches of fungi that not only look unsightly, but can also pose health risks over time. Mold can cause allergic reactions, respiratory issues, and worsen existing conditions like asthma.
The traditional response involves vigorous scrubbing with bleach-based cleaners. But this often merely scratches the surface of the issue. Mold spores can remain embedded in porous surfaces and return quickly if not fully eradicated or if the environment remains unchanged.
The no-scrub solution that’s changing everything
The no-scrub mold removal method is delightfully simple, and surprisingly effective. At the heart of the solution is a combination of bleach and cotton pads or coils. The goal is to saturate moldy areas with cleaning solution and allow time and contact pressure to break down the growth. Here’s how it works:
- Wear gloves and ensure bathroom is well ventilated (open windows, turn on exhaust fans).
- Soak absorbent cotton pads or twisted cotton coils in bleach. Household bleach works perfectly.
- Press the bleach-soaked cotton along moldy grout lines, corners, and caulked edges.
- Let sit for 6–8 hours (or overnight for stubborn spots).
- Carefully remove the cotton and dispose of it safely. Rinse the area with water.
- Enjoy the result—a dramatically cleaner shower with zero scrubbing effort.
This process works so well because it allows bleach to penetrate mold spores deeply and for a prolonged period. Traditional spray-on methods often dry too quickly to be effective, but the saturated cotton keeps bleach in direct contact long enough to neutralize mold fully.
Who should try this method and why it matters
This method is ideal for those who:
- Have busy schedules and can’t afford hours of deep scrubbing
- Struggle with back pain or mobility issues that make cleaning difficult
- Are dealing with persistent mold in specific parts of the bathroom (e.g., caulk lines, tile grout)
- Want a more budget-friendly alternative to commercial mold removers
- Prefer DIY cleaning with household products
More importantly, this method improves **hygiene and air quality** in the bathroom, reduces exposure to airborne mold spores, and extends the life of bathroom surfaces by eliminating corrosive buildup. Keeping mold at bay also protects against costly long-term damage to tiles, paint, and fixtures.
Expert opinions highlight the benefits
Most mold cases in bathrooms are not due to poor hygiene, but due to poor ventilation and high humidity. This method allows homeowners to stay ahead of the curve without harsh scrubbing.
— Sofia Tran, Environmental Health Specialist
I’ve tested countless cleaning hacks, but this one is truly among the most effective for bathrooms. Its simplicity is deceptive—it really does work.
— James Holloway, Professional Cleaner and Consultant
Common mistakes to avoid when applying the method
- **Using too little bleach** – Proper saturation is key to full mold eradication.
- **Skipping ventilation** – Always ventilate, as bleach fumes can be irritating.
- **Pulling cotton off too early** – Allow at least 6 hours for best results.
- **Applying without gloves** – Direct skin contact with bleach can cause irritation.
- **Using absorbent materials that shrink** – Use dense cotton pads that retain moisture.
Applying this treatment once a month or at the first sign of mold regrowth can drastically reduce the need for bigger clean-ups down the road. Those who use this consistently report sparkling tiles, mold-free grout, and a much fresher-smelling bathroom.
Alternative natural options and why bleach works best
While there are natural alternatives such as white vinegar, baking soda, and hydrogen peroxide, they mostly work on new or light mold stains. Vinegar lacks the mold-killing power of bleach, especially for embedded growth in silicone and grout. However, natural products remain a good **follow-up option** to help maintain cleanliness once deep mold has been removed.
If you’re concerned about bleach, diluted hydrogen peroxide (3%) is the closest second in terms of effectiveness. Tea tree oil also has mold-fighting properties, but can be expensive and less potent on deep black mold spots.
Winners and losers of this cleaning hack
| Winners | Losers |
|---|---|
| Busy homeowners | Commercial mold remover brands |
| People with limited mobility or injuries | Scrubbing brushes and sponges |
| Budget-conscious cleaners | Expensive cleaning sprays |
| Health-conscious families | Mold spores and allergens |
How to maintain a mold-free shower long-term
Once you’ve achieved a clean shower, the key becomes **prevention**. Mold thrives where there’s constant moisture and minimal airflow. Adopt these habits:
- Wipe down shower walls and doors after use
- Use a squeegee or microfiber cloth to remove excess water
- Keep exhaust fans running at least 20 minutes post-shower
- Leave shower doors or curtains open to dry out naturally
- Spray weekly with a maintenance vinegar mist (optional)
With monthly bleach treatments and consistent moisture control, your bathroom can remain fresh, clean, and virtually mold-free year-round.
Short FAQs
Is bleach safe for bathroom mold removal?
Yes, when used properly in a well-ventilated space and with gloves. Avoid mixing with other cleaners.
Can this method be used on colored grout?
Bleach may lighten colored grout, so test a small area first. Consider hydrogen peroxide as an alternative.
How often should I repeat the no-scrub treatment?
Once a month or when mold begins forming again. Consistency keeps mold away.
What kind of cotton should I use?
Dense cotton coils or cosmetic pads are best—they absorb and hold bleach without disintegrating.
Will it work on ceiling mold?
Not as easily—gravity works against you. Try this method for corners and grout instead.
Does this kill mold or just bleach it?
This method penetrates deep enough to kill mold spores in most grout and silicone areas.
How do I reduce overall bathroom humidity?
Use ventilation fans, open windows, and avoid long hot showers with doors closed.